How to Cut Quilt Binding Strips - Including the Width Calculation
Quilt Binding For Beginners: How to Cut Your Quilt Binding Strips (and work out how wide they should be)
Now we get practical. You know which type of binding you need. The next question is: how wide do you cut your strips? And, if you need bias binding, how do you actually cut it?
Let's work through both, step by step. But first, if you need to watch along with my video, you can watch that here:
🎥 Watch A Quick Video
How to Work Out How Wide to Cut Your Binding Strips
Finished binding width × 4 = width to cut your strip
So if you want a finished binding of half an inch - which is generally the standard, widely-used size for quilts, table runners, and table mats - the calculation looks like this:
Half inch × 4 = 2 inches
So you'd cut a 2-inch strip of fabric.
Simple enough.
BUT I'd like to share a small tweak I always make to that calculation.
My Recommendation: Cut at 2½ Inches
I personally always cut my binding strips at 2½ inches rather than 2 inches, even when I'm aiming for a half-inch finished binding.
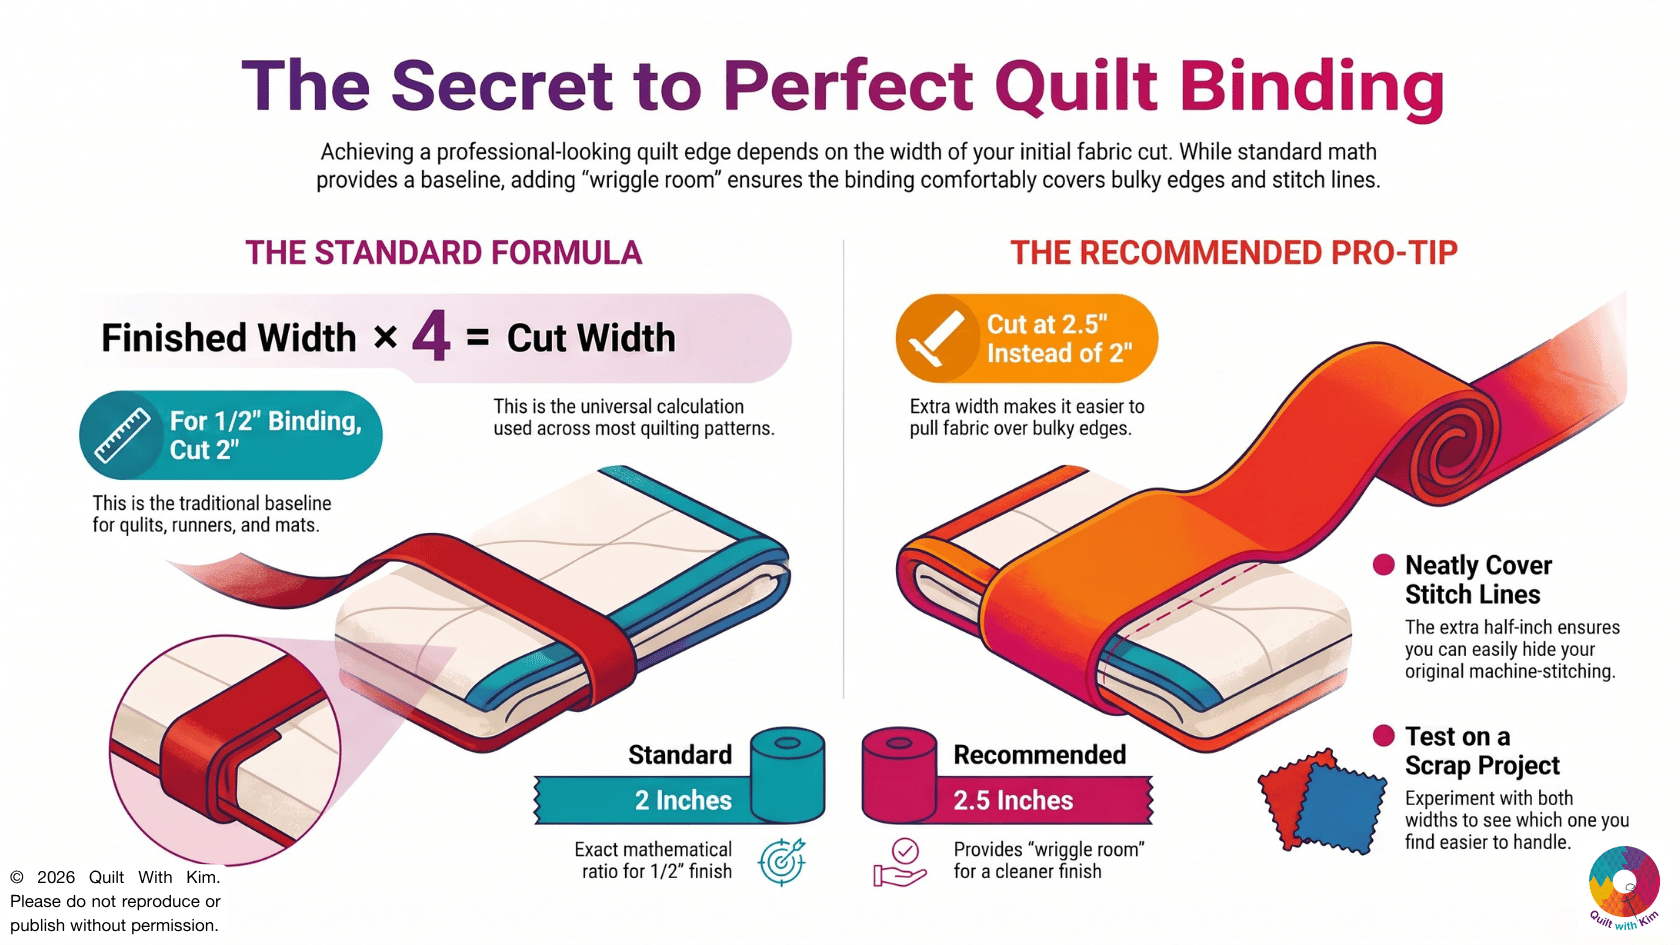
When you attach binding to your project, you machine-stitch it on one side, then bring it over to the other side and hand-stitch (or machine-stitch) it down. To get a clean finish, you need to pull the binding over the bulky edge of your quilt layers and cover your original stitch line neatly.
With a 2-inch strip, there's not quite enough fabric to do that comfortably. A 2½-inch strip gives you a little extra wriggle room to work with and I've never once wished I had less.
So my recommendation is to cut at 2½ inches for a half-inch finished binding. I promise it works.
That said, feel free to experiment! Cut a 2-inch strip, try it on a test project. Cut a 2½-inch strip, try that too. See which you find easier to work with. That's the best way to find out what suits you.
Which brings me to an important point before we do anything else.
Always Do a Test Run First
Use a scrap piece of fabric and try the whole process: cut, join (we'll cover that in the next post), and attach a short length to a folded piece of fabric. See how it feels. See whether the strip width works for you.
It takes 20 minutes and could save you a fair bit of unpicking further down the line. Trust me on this one.
When you get more experienced, you can skip this test because you will know what works for you. But for now, it's worth a quick experiment to find out which measurement works best for you.
How to Cut Straight Grain Binding Strips
Line your fabric up on your cutting mat, place your ruler at your chosen width (2½ inches if you're following my recommendation), and cut straight along. That's it. Your straight grain strips are ready.*
If you'd like a refresher, watch my video on cutting strips accurately with your rotary cutter and ruler here.
NB Always give yourself a straight edge first before you start measuring and cutting your strips.
How to Cut Bias Binding Strips
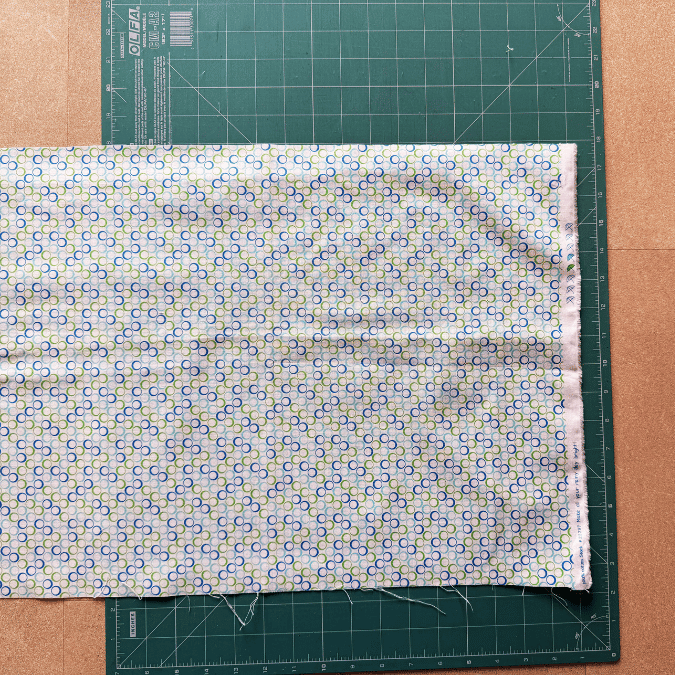
Step 1: Start with your fabric folded WOF
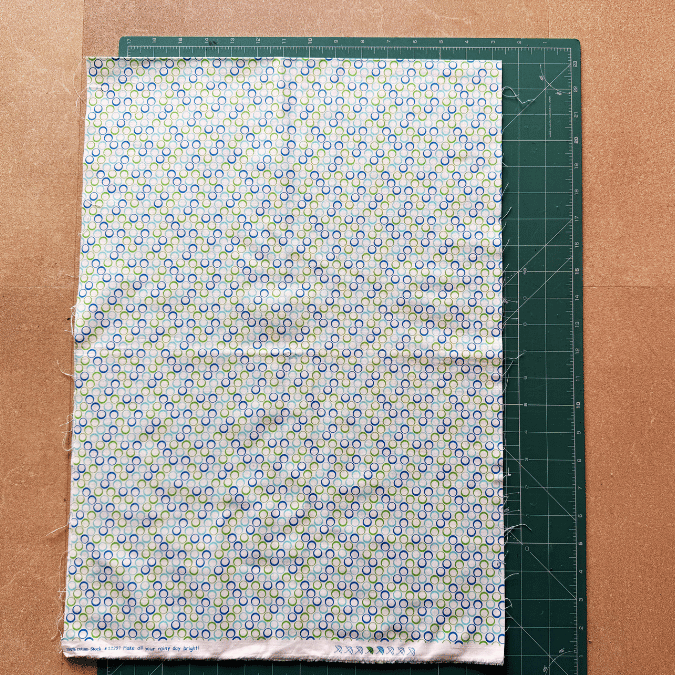
Step 2: Give yourself a clean, straight starting edge
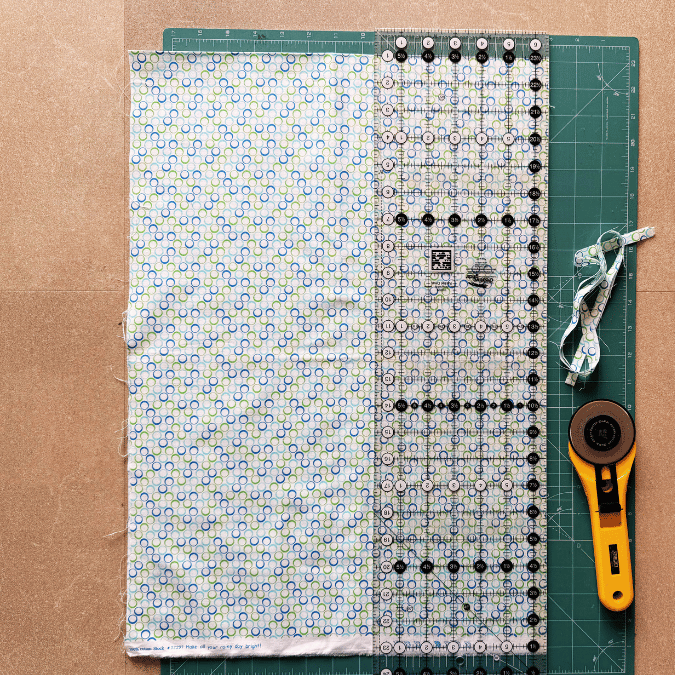
Step 3: Open Up Your Fabric
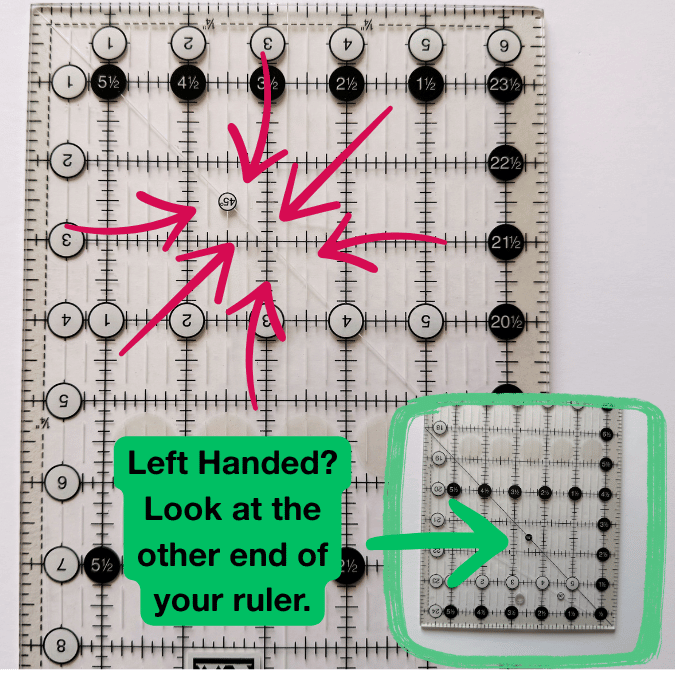
Step 4: Find the 45-degree line on your ruler
A quick note on rulers: I use Creative Grids rulers and find them excellent. The markings are very easy to see, and they have a non-slip backing that makes a real difference when you're trying to hold things steady. I'm not on commission from them - I just happen to love them!
Step 5: Align your 45-degree line with your straight edge
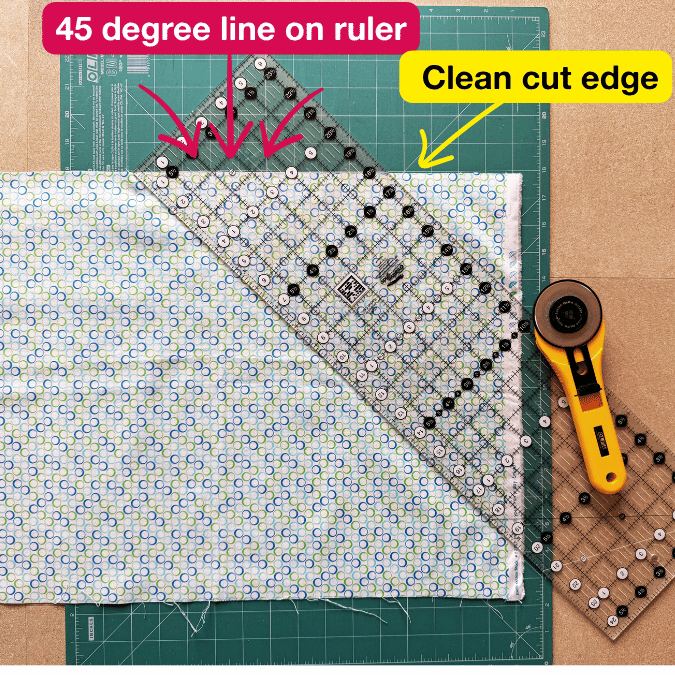
Step 6: Cut off the corner triangle
The cut you've just made is your starting edge. All your bias strips will be cut from here.
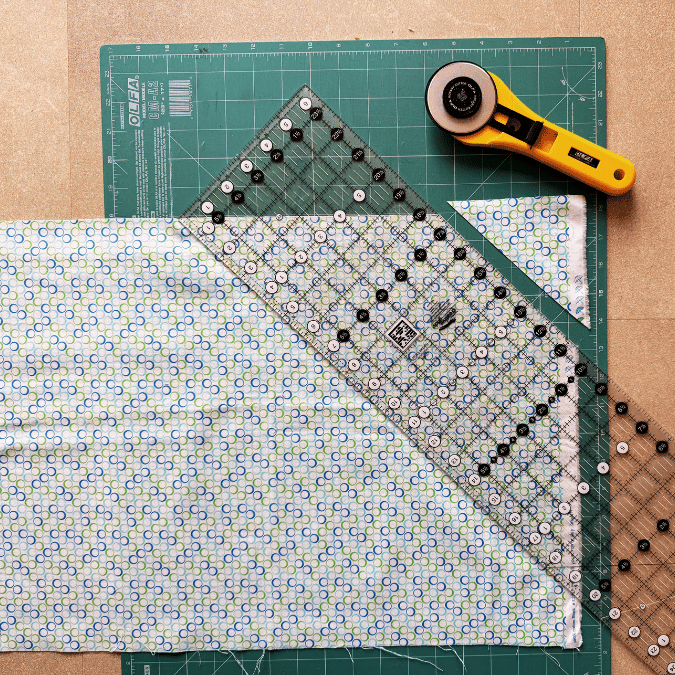
Step 7: Turn your fabric
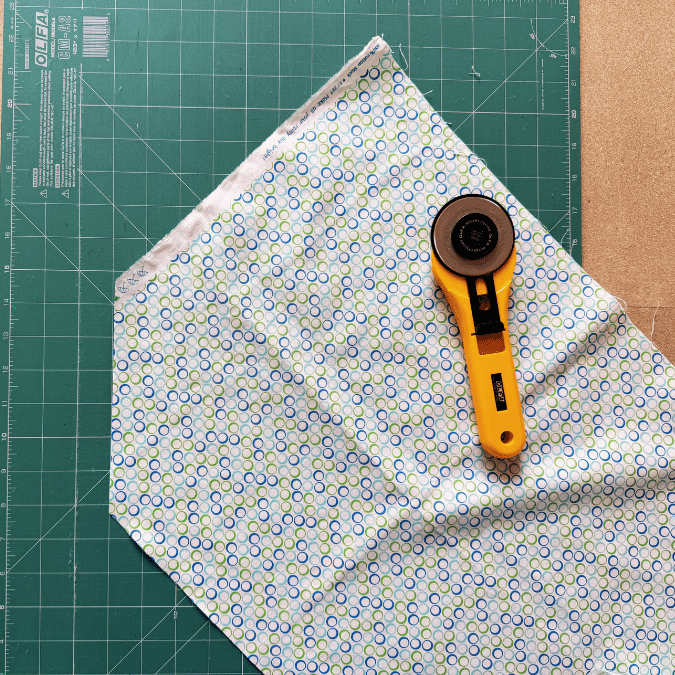
Step 8: Line Up Your Ruler
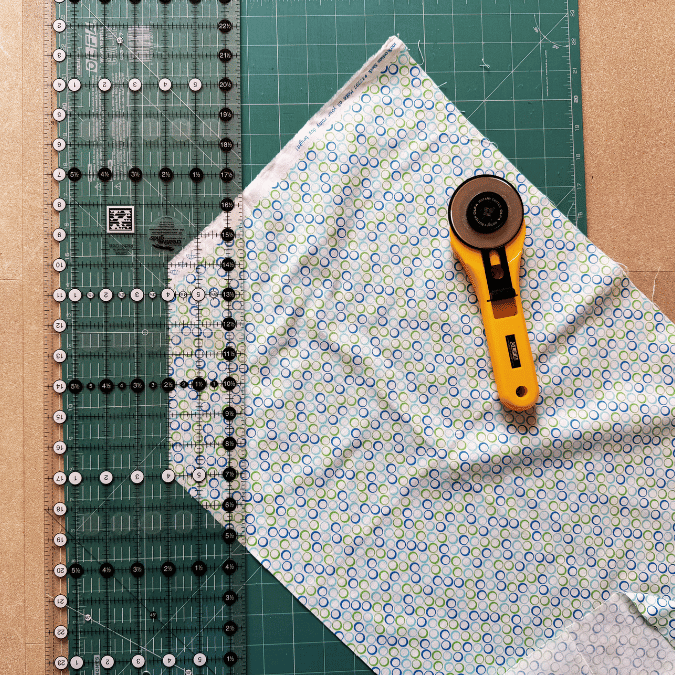
Step 9: Cut your strips
You'll need to shift your fabric along your cutting mat as you go, and sometimes you will need to fold your fabric in half along your straight cutting edge, because your strips get longer as you work towards the centre of the fabric. That's completely normal and expected.
Once you've cut a strip or two, give one a gentle pull diagonally. You should feel a satisfying amount of stretch: that's exactly what you're after. That's the stretch that lets your binding travel around curves and corners so beautifully.
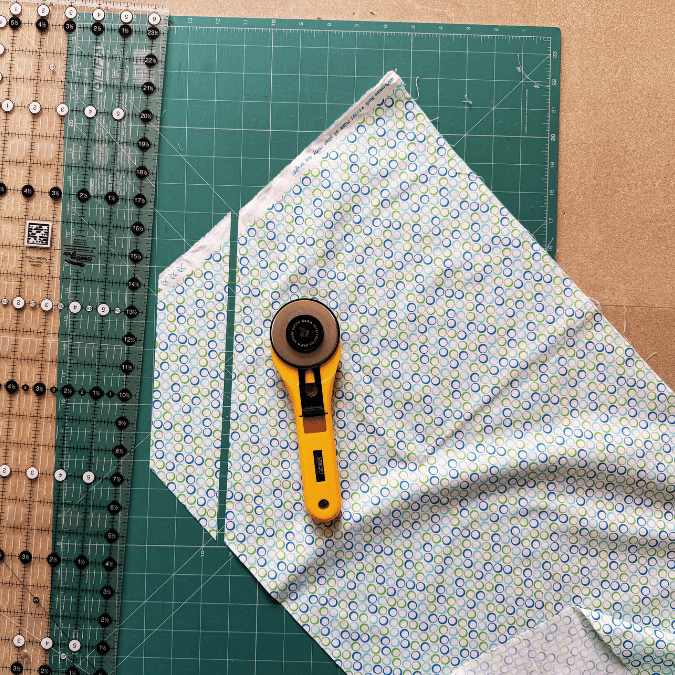
💡 A Bonus Tip: Patterned Fabrics Make Stunning Bias Binding
Because you're cutting diagonally across the fabric, any design, whether it consists of stripes, swirls, florals or geometric prints, gets cut at an angle. When that binding is then applied to your project, the pattern falls in a wonderfully interesting way and it creates a really beautiful finish.
So if you have a fabric in your stash that doesn't quite fit in with your main quilt design, don't write it off. It might be absolutely perfect as the binding. Something to bear in mind next time you're stash-diving!
What's Coming Up in the Quilt Binding For Beginners Series
- Post 2: How to Cut Your Binding Strips - you're here!
- Post 3: How to Join Your Binding Strips
- Post 4: How to Attach Binding to Your Quilt: coming soon
- Post 5: How to Make a Perfect Mitred Corner - coming soon
Kim xx

Kim also hosts a popular YouTube channel, Quilt With Kim, where she shares tutorials and tips tailored to beginners. She has also taught patchwork live on air on Sewing Street on TV.
Based in Gloucestershire, UK, Kim enjoys yoga, cooking, and seaside and country walks with her husband, Nige. Her chief quilting assistant, Shadow the cat, is always on hand to supervise her projects.
Download the FREE Beginner Quilter's Toolkit - a free guide to help you to know how to get started with quilting and to join Kim's newsletter list and begin your quilting journey today.
Download your FREE copy today.
PLUS comes with handy print out shopping guide!