Stitch Length for Quilting vs Piecing: A Beginner’s Guide
Stitch Length for Quilting vs Piecing: What's the Difference?
The good news? There's a very simple fix. Once you know the right stitch length for piecing and the right one for quilting, and why they're different, you'll wonder how you ever managed without knowing this!
Let's have a look at what you need to know.
What Is Piecing (And Why Does Stitch Length Matter)?
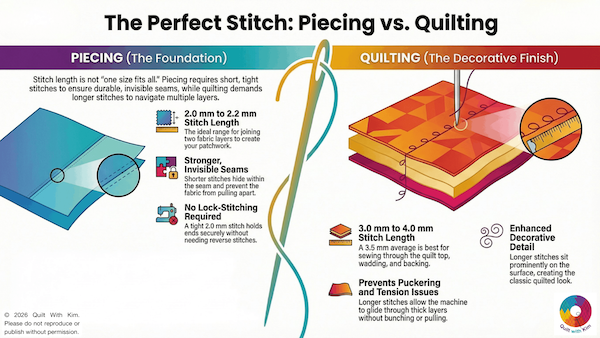
For piecing, you need a short stitch length. The magic number is around 2mm or 2.2mm.
What Happens If Your Piecing Stitch Is Too Long?
Even worse? Those longer stitches can start to come apart. You might notice your seam lines opening up at the ends, which is a really frustrating problem that's easy to avoid with the right stitch length.
This is also why, in piecing, we generally don't need to lock stitch at the end of our seam lines.
What Stitch Length Should I Use for Quilting?
A good starting point for quilting is 3.5mm, though you might go slightly lower (around 3mm) or higher (up to 4mm) depending on how thick your wadding is:
A thicker wadding? Go a little longer.
A thinner wadding? You can bring it down slightly.
But 3.5mm is a brilliant, reliable starting point for most quilts.
Why Do You Need a Longer Stitch for Quilting?
• Your machine won't struggle. When you use a short stitch through three thick layers, your machine has to work much harder. The thread can bunch up, pucker the fabric, and the stitches actually end up shorter than you set them because of the resistance. Not ideal, obviously.
• Your quilting lines will look beautiful. Remember, quilting isn't just about holding the layers together, it's also decorative. A longer stitch sits nicely on the surface of your quilt and shows as a proper quilting line. That's exactly what we want.
💖 A third bonus: that longer stitch helps create little pockets of air between the layers, which gives your quilt that gorgeous squishy, snuggly feeling we all love!
Quick Recap: Your Stitch Length Cheat Sheet
• Piecing: 2mm – 2.2mm (short and tight; the stitches hold seams firmly and the seams lay flat)
• Quilting: 3mm – 4mm, usually 3.5mm (longer for smooth, even stitches through all layers)
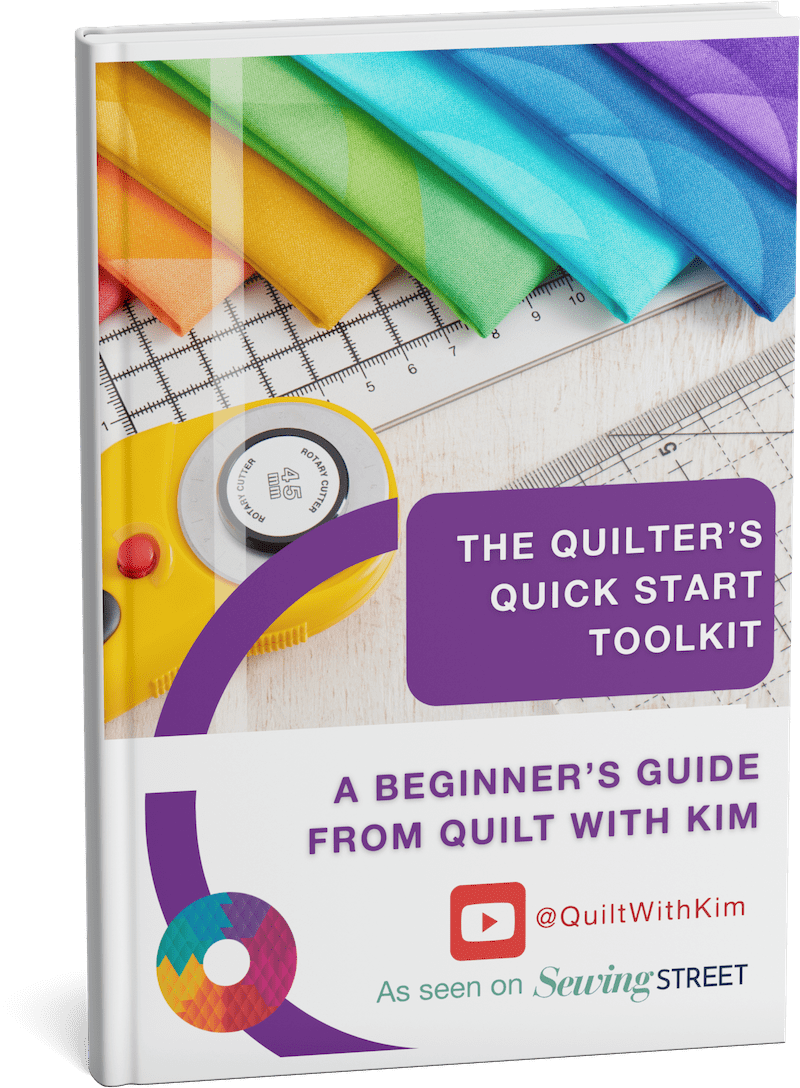
I put together a FREE Beginner Quilter's Quick Start Toolkit just for you. It's packed with plain-English explanations of all those funny quilting terms, a list of the equipment you actually need (without wasting any money!), and ideas for the best projects to start with so you don't feel overwhelmed.

Kim also hosts a popular YouTube channel, Quilt With Kim, where she shares tutorials and tips tailored to beginners. She has also taught patchwork live on air on Sewing Street on TV.
Based in Gloucestershire, UK, Kim enjoys yoga, cooking, and seaside and country walks with her husband, Nige. Her chief quilting assistant, Shadow the cat, is always on hand to supervise her projects.
Download the FREE Beginner Quilter's Toolkit - a free guide to help you to know how to get started with quilting and to join Kim's newsletter list and begin your quilting journey today.
Download your FREE copy today.
PLUS comes with handy print out shopping guide!