Essential Quilting Terms Every Beginner Should Know
Confused by Quilting Terms? Let's Fix That!
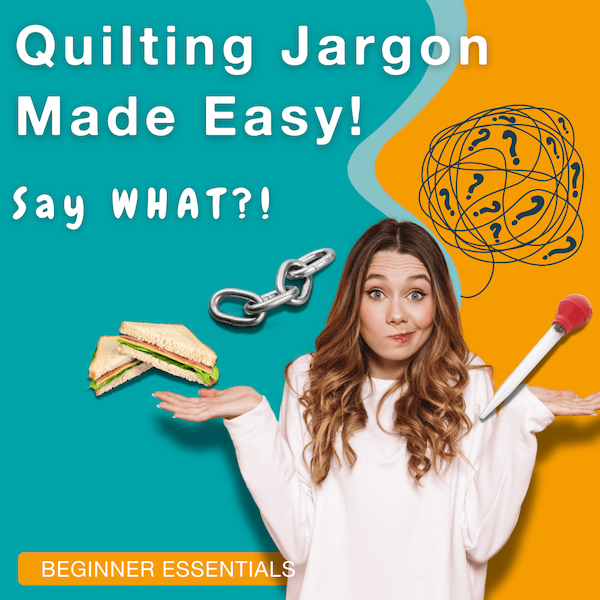
When I first dipped my toes into the world of quilting, it felt like everyone was speaking a different language: fat quarters, yardage, layering, applique... what on earth was everyone talking about?! So if you've been confused too....I hear you my friend, I hear you!
The good news? I'm here to walk you through 10 essential quilting terms that will make everything feel a whole lot clearer.
Whether you've just picked up your first rotary cutter or you're halfway through your first patchwork block, these are the basics that will help you feel more confident, more capable, and less like you've landed in a sewing-themed episode of Space Engineering For Experts 🛰️ (yes, I made that up!).
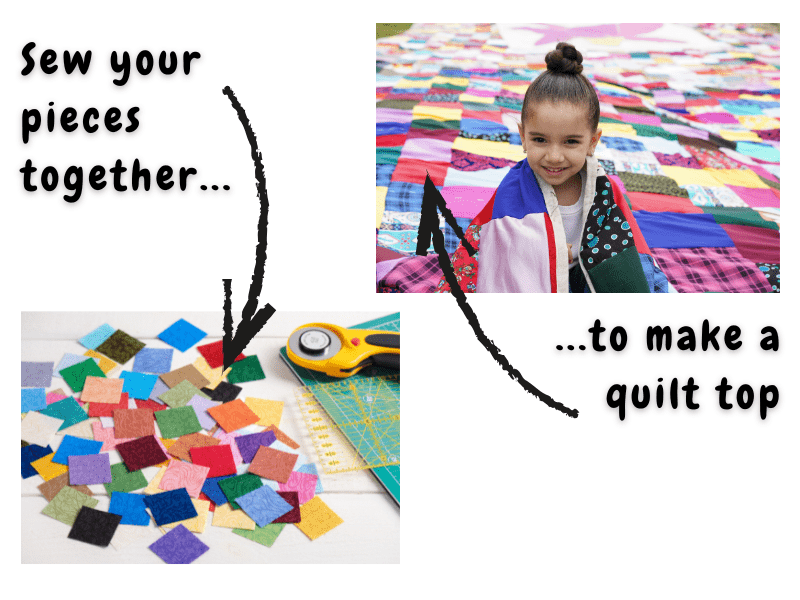
1. What Is Piecing?
Piecing is the heart of patchwork. It's the act of stitching smaller pieces of fabric together to make blocks, and then stitching those blocks into something bigger. Think of it as quilting Lego!
👉 Top Tip: If your pattern says "piece these together," it simply means stitch them! You might hear about chain piecing too; that's a speedy way to stitch lots of small pieces without stopping and starting.
2. Quarter Inch Seam
This is the little strip between your stitch line and the edge of your fabric, aka your seam allowance. In quilting, the standard is a quarter inch: tiny but mighty!
Being accurate here makes a big difference to how your blocks fit together as all quilt patterns the world over are calculated based on this unassuming quarter inch.
3. Fat Quarters (FQ)
You'll see these everywhere: fat quarters are pre-cut pieces of fabric, usually 18" x 22". Great for small projects, colourful bundles, and building your stash.
There is a difference in size between an American Fat Quarter and a European Fat Quarter. It's less to do with the regions of the world, and more to do with the creation of the Fat Quarters:
The 'American Fat Quarter' is pre-cut at the fabric manufacturer and is measured in imperial and ends up as 18" x 22". If you buy a pre-packaged Fat Quarter bundle, this is the size of the FQ's in that bundle.
Compare that to a 'European Fat Quarter'. These are measured in metric and is how the fabric is cut off the bolt in a shop (so, really, it will be the same wherever you are in the world). When it's cut this way, as a retailer I first cut the fabric at 50cm, then turn it around and cut it in half. So you'll end up with a Fat Quarter that is 50cm x 50cm or thereabouts. That is equivalent to just under 20" x 20" square (give or take a little). So you'll get about four square inches more in the European Fat Quarter than the American Fat Quarter.
You don't need to ask for anything different when you're in a shop: if you ask them to cut you a Fat Quarter, you will naturally end up with the 50cm x 50cm version. But if you buy a pre-packaged (pre-cut) Fat Quarter, just be aware that it will be very slightly smaller.
4. Sub cutting
Once you've cut a strip of fabric, your pattern might tell you to sub cut it. This just means cutting it into smaller shapes (like squares or rectangles). We also do this after sewing strips together to make our patchwork blocks faster.
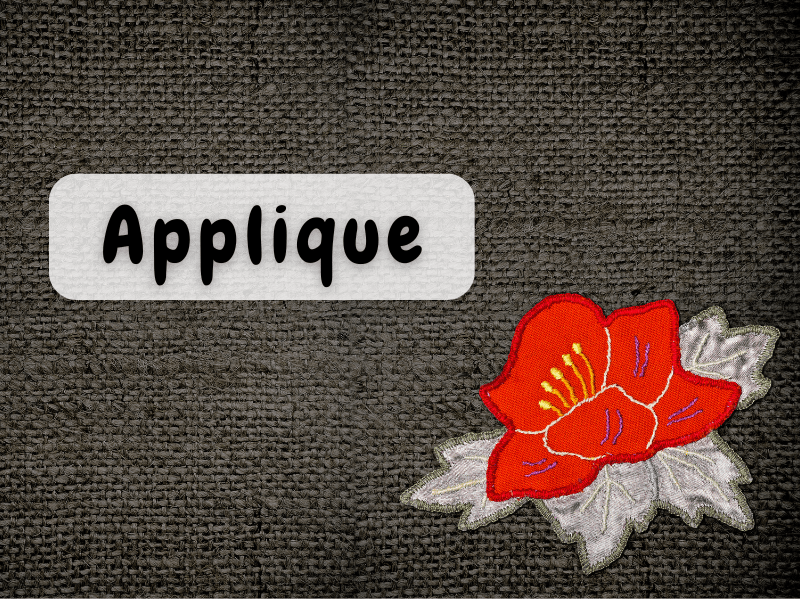
5. Appliqué
Fancy word, fun technique! Appliqué means placing one piece of fabric on top of another and stitching it down. From fusible web to Celtic appliqué, there are loads of creative ways to do it. You can go ultra simple to mega complicated. My advice is to start with a simple fusible web applique and go from there.
Creative idea: Try appliqué for personalised gifts, seasonal decorations, or adding flair to your blocks.
6. Quilt Sandwich
Sounds potentially delicious, but it's actually your three quilt layers:
• Top (your pretty patchwork)
• Middle (wadding or batting)
• Backing (fabric on the back)
Putting them together is called layering.
7. Basting (not just for turkeys)
Once layered, we need to hold those layers together before quilting. That's called basting and you can do it with pins, needle and thread, a plastic-tag gun (like you get in shops to attach the price ticket), special glue sticks (this is a specific glue for this purpose) or a handy spray adhesive.
My honest take: I don't love those plastic tag guns: they disappear into your quilt and are tricky to find again! Plus, I'm not sure they can be that good for the environment as all the small plastic tags (IF you can find them) then have to be thrown away.
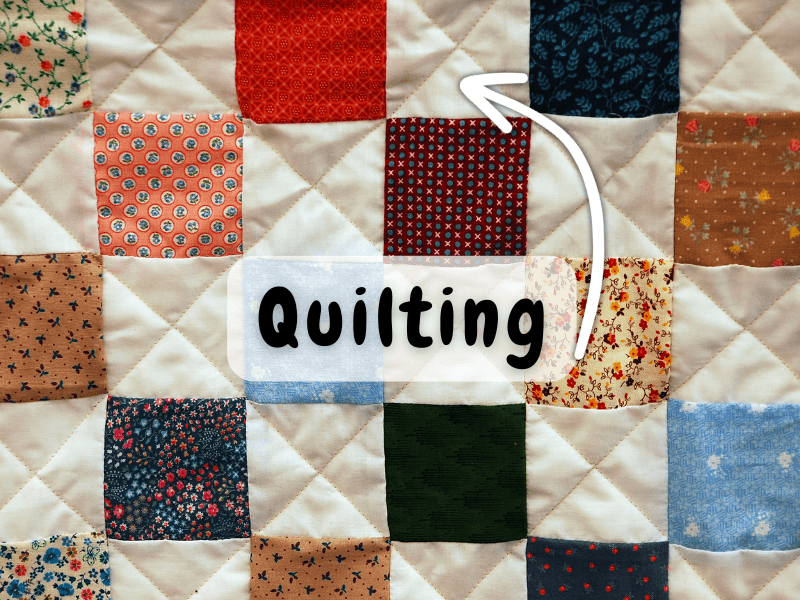
8. Quilting (we've waited until #8 for the quilting?!?)
This is where the magic happens!
Quilting is where you through all three layers to hold everything together and add texture, interest and warmth. It can be simple lines, fancy patterns, or anything your heart desires.
You can machine quilt, hand quilt, or even try free-motion quilting once you're ready. There is no right or wrong answer: choosing the type of quilting is down to your personal preference and your skill level.
However, I would NOT advise starting with free motion quilting (FMQ). But you can start with either hand quilting or machine quilting (using a walking foot), and you can get effective designs with both of these techniques.
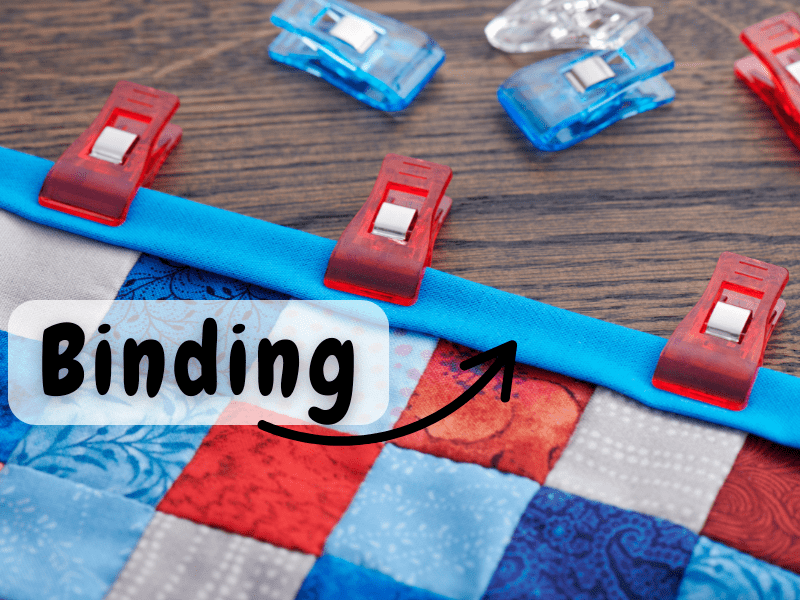
9. Binding
Binding is the neat fabric strip that finishes your quilt edges. It wraps around the raw edges to give a polished, durable finish.
You'll hear terms like bias binding (cut on the stretchy diagonal and used for curved quilts) and straight grain binding (for square edges – used for any square or rectangular quilt).
Warning: Be aware that people have a catch all name and refer to ALL binding as "bias binding". But they are created differently and have different jobs to do.
10. Yardage vs. Fat Quarters
Yardage is when you buy fabric by the metre (or half metre), usually for larger pieces or backing fabric. If you fall in love with a design, my advice is to buy at least a metre or more because generally, with a collection fabric (the nice designs that are released) when it's gone, it's often gone for good!
Do ask the shop assistant if it's a stock fabric or a collection fabric...i.e. will they be able to get it again when they run out?
Feeling Less Lost? I Hope So! 💖
Learning the language of quilting takes time but I promise, once you've got these terms under your belt, everything will start to click.
If you'd like to watch me talk through all these with examples, watch this video:
Want More Help Getting Started?
If you're ready to go from curious beginner to confident quilter, here are a few ways I can help:
👉 Download my free Beginner Quilter's Toolkit: a free downloadable and printable guide to tools, terms, and getting started with confidence!
🤩 Start your quilting journey very simply this weekend with my beginner quilter's course to make a simple Nine Patch cushion (no, you don't have to start learning quilting with a quilt!). Designed for beginners, you can find out about that here.
I do hope that has helped.
See you next time,
Kim
xx

Kim Reynolds
09/23/2025 00:00:00 +0000
Kim Reynolds - Founder of Quilt With Kim
Kim is the founder of Quilt With Kim, a trusted resource for quilting beginners. With over seven years of experience inspiring students to explore their creativity, Kim specialises in teaching patchwork and quilting through easy-to-follow courses and tutorials.
She holds a City & Guilds qualification in Patchwork & Quilting and loves helping beginners create their first quilts with confidence.
Kim also hosts a popular YouTube channel, Quilt With Kim, where she shares tutorials and tips tailored to beginners. She has also taught patchwork live on air on Sewing Street on TV.
Based in Gloucestershire, UK, Kim enjoys yoga, cooking, and seaside and country walks with her husband, Nige. Her chief quilting assistant, Shadow the cat, is always on hand to supervise her projects.
Download the FREE Beginner Quilter's Toolkit - a free guide to help you to know how to get started with quilting and to join Kim's newsletter list and begin your quilting journey today.
Confused About What Equipment You Need To Get Started With Patchwork & Quilting?
Discover the 14 essential tools and equipment you need as beginner in patchwork and quilting.
Download your FREE copy today.
PLUS comes with handy print out shopping guide!
Get In Touch
Dedicated email coming soon
2023 - 2024 The Patchwork Shop Ltd | All Rights Reserved.
The Patchwork Shop Ltd T/A Quilt With Kim | Registered in England | Company Number 10630597